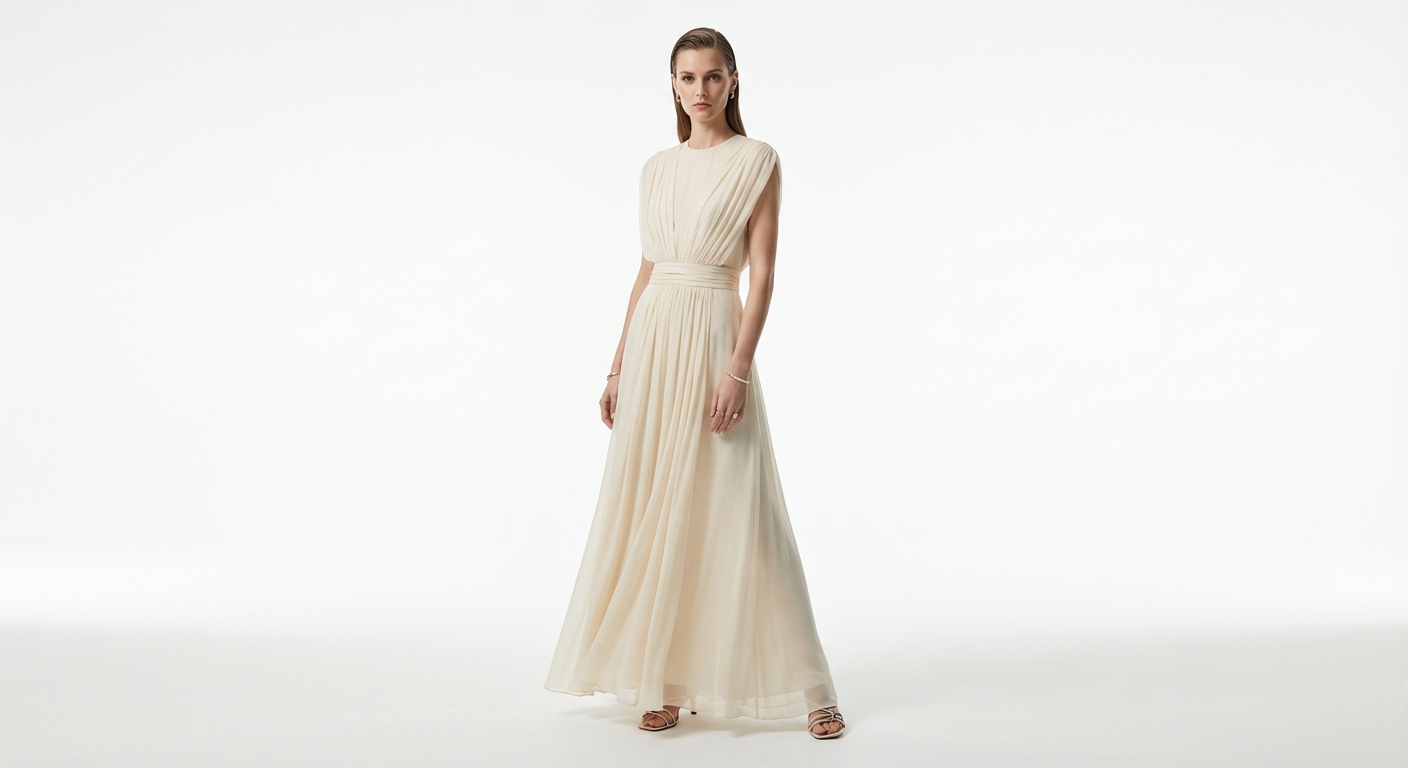
Mastering Fashion E-commerce: The Professional Dresses Photography Guide
In the competitive world of fashion e-commerce, your imagery is your storefront. When a customer lands on your page, they aren't just looking at a piece of fabric; they are looking for a feeling, a fit, and a reason to trust your brand. This professional dresses photography guide is designed to help you bridge the gap between digital browsing and the physical "fit and feel" experience.
For Shopify and e-commerce store owners, high-quality imagery is the most effective tool for reducing shopper uncertainty. Because customers cannot try on a dress through a screen, your photos must answer every question they have about drape, texture, and movement. Professional photography doesn’t just sell a product; it establishes brand authority.
Dresses present a unique set of challenges compared to other apparel. From the sweeping hem of a maxi dress to the intricate lace of a cocktail gown, capturing movement and length requires a specialized approach. In this guide, we will explore the techniques, tools, and AI-driven innovations that will elevate your fashion brand to a professional standard.
Why Professional Dress Photography Matters for Your Bottom Line
Investing in high-fidelity images isn't just an aesthetic choice; it’s a financial one. There is a direct, measurable correlation between image quality and conversion rates. When your photos are crisp, well-lit, and detailed, customers feel more confident hitting the "Add to Cart" button.
One of the biggest profit-killers in fashion e-commerce is the high rate of returns. Most returns happen because the product received didn't match the customer's expectations. By accurately representing fabric texture, how a garment drapes, and the true-to-life color, you significantly reduce "bracket shopping" and return logistics costs.
Furthermore, professional photography allows you to command a premium. A cohesive brand aesthetic tells the customer that your products are high-quality. If your images look like they belong in a high-end editorial, you can justify premium pricing strategies that would be impossible with amateur, low-resolution snapshots.
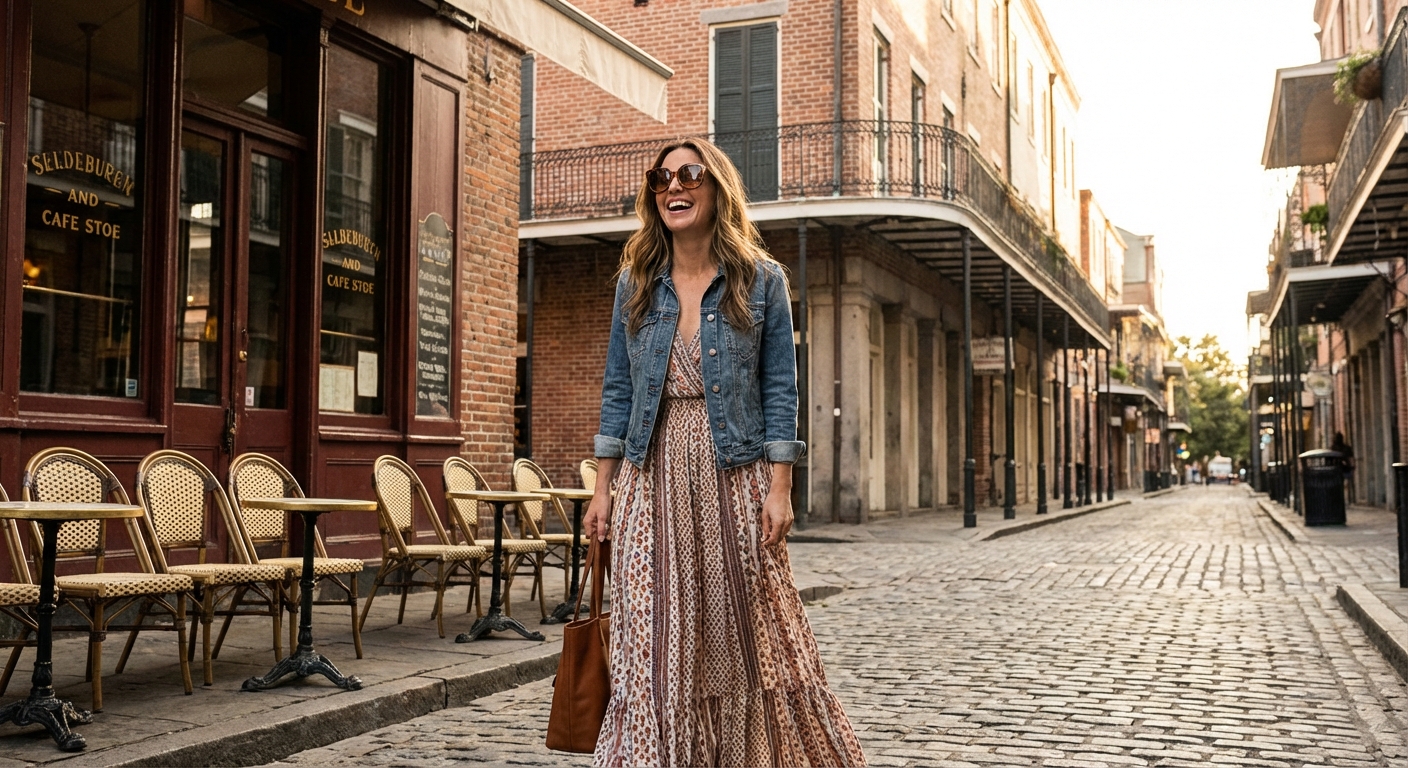
Professional styling and photography techniques make all the difference in fashion ecommerce. See how AI-powered tools can transform your product images.
Preparation: Setting the Stage for Success
Before you even touch your camera, the success of your shoot is determined by your preparation. A wrinkled dress or a stray piece of lint can ruin an otherwise perfect shot, leading to hours of unnecessary work in post-production.
Garment Prep Essentials
The first rule of dress photography is: never photograph a garment straight out of the box. Professional steaming is non-negotiable. Whether it’s a silk slip or a heavy denim pinafore, wrinkles are magnified under studio lights.
- Steaming: Use a high-quality upright steamer to remove every crease. Pay special attention to hems and collars.
- Lint Removal: Keep a lint roller on hand. Fine fabrics like velvet or dark cotton attract dust that becomes incredibly visible in high-resolution shots.
- Quality Control: Check for loose threads, missing buttons, or uneven hems. Fix these on the spot to save yourself a headache later.
Styling Tools for the Perfect Silhouette
Dresses are designed to be worn on a human body, not a flat surface. To create the perfect silhouette, you’ll need a "stylist’s toolkit."
- Clips and Pins: Use bulldog clips or pins on the side of the dress (hidden from the camera) to pull the fabric taut and emphasize the waistline on a mannequin.
- Invisible Stuffing: For A-line or ballgown styles, use acid-free tissue paper or tulle under the skirt to give it volume and shape.
- Fishing Line: This is a pro-secret for capturing movement. Use clear fishing line to hold up a hem or a sleeve, creating a "wind-blown" effect that can be easily edited out later.
The Complete Guide to Dress Photography Techniques
There are three primary ways to photograph dresses, each with its own set of pros and cons. Choosing the right one depends on your budget, brand identity, and the specific dress types you are selling.
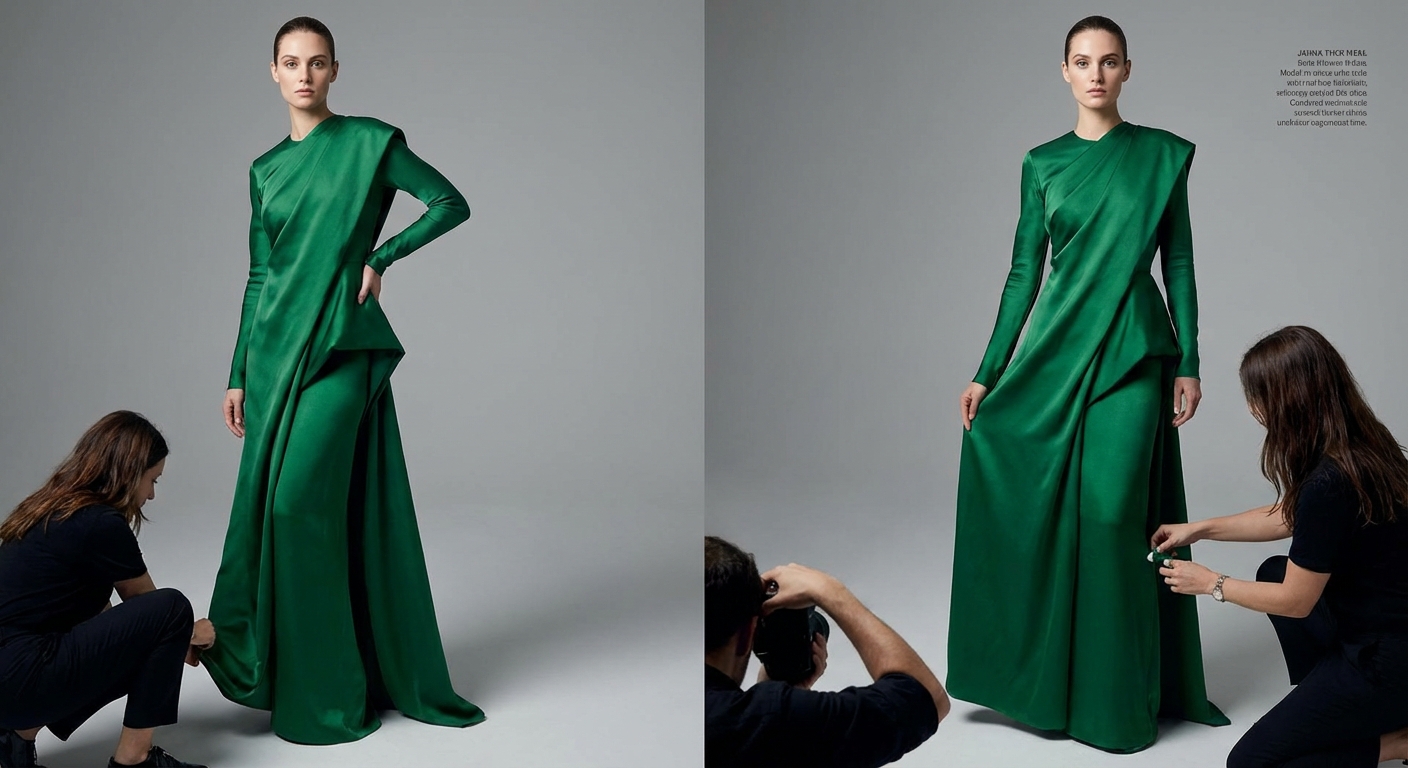
"High-quality product photography is the difference between scrolling and stopping."
Traditional Model Photography
Using a live model is the gold standard for luxury and lifestyle brands. Models bring personality to the clothing and show how the fabric moves in real life.
- Posing: Encourage the model to walk, twirl, or sit to show the dress’s versatility.
- Grooming: Ensure hair and makeup complement the dress without distracting from it.
- Cost: This is the most expensive method, requiring a model, makeup artist, and often a larger studio space.
Ghost Mannequin Technique
The "Ghost Mannequin" or "Invisible Mannequin" effect is the industry standard for clean, professional product pages. It allows the customer to see the shape and fit of the dress without the distraction of a model.
- The Process: You take one photo of the dress on a mannequin, then a second photo with the dress turned inside out or with the neck area open.
- The Result: In post-production, these images are merged to create a 3D, hollow-man effect that focuses entirely on the garment.
AI-Powered Photography
The most exciting shift in the industry is the rise of AI-powered photography. Platforms like ImagineCreate AI allow you to take a basic flat lay or mannequin shot and transform it into a high-end model editorial.
- Efficiency: You can generate dozens of lifestyle images in different environments without hiring a full crew.
- Versatility: Want to see your summer dress on a model at a beach in Bali? AI can do that in seconds.
- Cost-Effective: This significantly lowers the barrier to entry for small brands looking to scale their catalog.
Lighting Mastery: Capturing Fabric and Texture
Lighting is the "make or break" element of any professional dresses photography guide. Your goal is to reveal the texture of the fabric while maintaining accurate color representation.
Softbox vs. Umbrella Lighting
- Softboxes: These provide a controlled, directional light that is perfect for matte fabrics like cotton or wool. They help define the edges of the dress and create soft shadows that show off the silhouette.
- Umbrellas: Umbrellas provide a broader, more diffused light. This is often better for reflective fabrics like silk, satin, or sequins, as it minimizes "hot spots" (harsh white reflections) on the material.
The Three-Point Lighting Setup
To truly make a dress "pop" off the screen, use a three-point setup:
- Key Light: Your main light source, placed at a 45-degree angle to the dress.
- Fill Light: A lower-intensity light placed on the opposite side to soften shadows created by the key light.
- Backlight: Placed behind the dress to create a slight "halo" effect. This separates the garment from the background, adding depth and a professional finish.
Natural Light Strategies
If you are shooting on a budget or doing a lifestyle shoot for maxi dresses, natural light is your best friend.
- Golden Hour: The hour after sunrise or before sunset provides a soft, warm glow that is incredibly flattering for flowing fabrics.
- Cloudy Days: Believe it or not, an overcast sky acts as a giant natural softbox, providing even, diffused light that prevents harsh shadows.
Essential Camera Settings and Angles
Technical precision is what separates a snapshot from a professional product photo. You don't need the most expensive camera in the world, but you do need to know how to use the one you have.
Technical Specifications
- Aperture (f-stop): Use a setting between f/8 and f/11. This provides a deep "depth of field," ensuring that the entire dress—from the neckline to the hem—is in sharp focus.
- ISO: Keep your ISO as low as possible (ideally ISO 100 or 200) to minimize "noise" or graininess in your images.
- Shutter Speed: If you are using a tripod (which you should), a shutter speed of around 1/125 is usually sufficient to avoid motion blur.
The Four Pillars of Angles
Consistency in your angles helps customers compare different products in your shop. Every dress listing should include these four shots:
- The Full Front: The "hero" shot. Capture the dress exactly as it looks head-on.
- The 45-Degree Profile: Shows how the dress fits the body’s curves and how the fabric hangs.
- The Detailed Back: Many dresses have unique zippers, ties, or cut-outs on the back. Don’t leave the customer guessing.
- The Texture Close-up: Zoom in on the fabric, embroidery, or buttons. This builds "tactile trust."
Focal Length Choices
Avoid wide-angle lenses (anything below 35mm), as they can distort the proportions of the dress, making it look wider or shorter than it actually is. 50mm to 85mm prime lenses are the gold standard for fashion. They provide a "flat" perspective that represents the garment's dimensions accurately.
Best Practices for Scaling Your Dress Catalog
As your brand grows, you'll need to move from shooting one dress at a time to processing dozens per week. Efficiency and consistency are the keys to scaling.
Consistency Through Style Guides
Create a "Photography Style Guide" for your brand. This document should detail:
- The exact distance from the camera to the mannequin.
- The height of the tripod.
- The lighting power settings.
- The background color (Hex code). This ensures that your Shopify collection pages look uniform, which significantly improves the user experience.
Post-Production Efficiency
Don't try to edit every photo from scratch.
- Batch Processing: Use Adobe Lightroom to apply the same color correction and exposure settings to an entire batch of photos at once.
- AI Background Removal: Tools like ImagineCreate AI can automatically remove messy studio backgrounds and replace them with clean white or stylized lifestyle scenes, saving hours of manual masking.
Mobile Optimization
Over 70% of fashion e-commerce happens on mobile devices.
- Crop for Vertical: Shoot with a vertical (portrait) orientation in mind.
- Zoom Capability: Ensure your files are high-enough resolution that a customer can pinch-to-zoom on a small screen to see the stitching.
Tools & Resources for Fashion Photographers
Building a professional setup doesn't have to break the bank. Here is a breakdown of the hardware and software you need to succeed.
Hardware Recommendations
- Camera: A mid-range DSLR like the Canon EOS Rebel series or a mirrorless camera like the Sony Alpha A6000 is perfect for starters.
- Tripod: A sturdy tripod (like Manfrotto) is essential for keeping your angles consistent and your shots sharp.
- Remote Shutter: This allows you to trigger the camera without touching it, further reducing camera shake.
AI Platforms as a Force Multiplier
For many small to medium-sized teams, hiring models and location scouting is too expensive. This is where ImagineCreate AI becomes a game-changer. By using AI, you can:
- Generate professional lifestyle images from a simple mannequin shot.
- Test different model ethnicities and body types to make your brand more inclusive.
- Create seasonal content (e.g., putting the same dress in a snowy setting for winter) without a second photoshoot. Check out our pricing page to see how AI can fit into your production budget.
Editing Software
- Adobe Lightroom: Best for color grading and organization.
- Adobe Photoshop: Necessary for complex "Ghost Mannequin" composites.
- ImagineCreate AI: The ultimate tool for rapid creative iterations and generating high-converting marketing assets.
Case Study: From Flat Lay to Editorial with ImagineCreate AI
Let's look at a real-world example of how these techniques come together. One of our users, a boutique owner specializing in summer wear, had a basic floral dress.
The Workflow:
- The Base Shot: They took a clean, well-lit flat lay of the floral dress on a white background.
- The AI Transformation: Using ImagineCreate AI, they uploaded the flat lay and prompted the system to "place this dress on a model walking through a sun-drenched Mediterranean street."
- The Refinement: Within seconds, the AI generated four high-end editorial options.
The Comparison:
- Traditional Shoot: Cost estimated at $2,000 (Model: $500, Photographer: $800, Travel/Location: $500, Editing: $200). Time: 2 weeks.
- AI-Powered Generation: Cost: Included in a monthly subscription (pennies per image). Time: 5 minutes.
The Result: The brand used the AI-generated images for their Instagram ads. They saw a 45% increase in click-through rates (CTR) compared to their previous flat-lay-only ads. The aspirational lifestyle imagery helped customers visualize where they would wear the dress, leading to a direct spike in sales.
Conclusion: Future-Proofing Your Fashion Brand
Mastering the art of dress photography is an ongoing journey. From the technical nuances of three-point lighting to the meticulous preparation of the garment, every detail counts. However, as the industry evolves, the brands that thrive will be those that embrace new technologies.
By following this professional dresses photography guide, you have the foundation to create stunning, high-converting images. You know how to prep your garments, set your camera, and light your scene. But you also know that you don't have to do it all alone.
The shift toward AI-assisted workflows is the biggest change in fashion photography in decades. It allows you to compete with global brands on a fraction of the budget. It gives you the creative freedom to put your dresses in any setting, on any model, at any time.
Are you ready to elevate your brand? Don't let high production costs hold your business back. Try ImagineCreate AI for free today and transform your product shots into professional masterpieces instantly. Your customers are waiting to see your brand in its best light—literally.